Home Page › Forums › Discussion Topics – Ask the Experts › 62 Jetfire engine, trans, & turbo rebuild
- This topic has 69 replies, 8 voices, and was last updated 10 years, 10 months ago by
 jensenracing77.
-
AuthorPosts
-
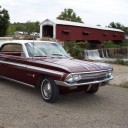
February 11, 2012 at 7:05 am #7304jensenracing77Participant
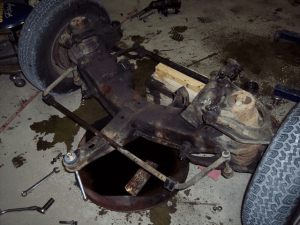
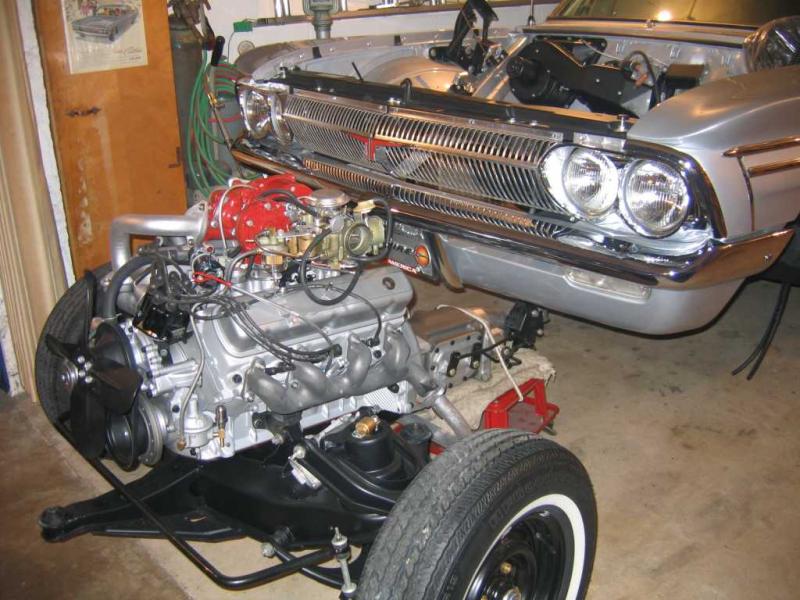
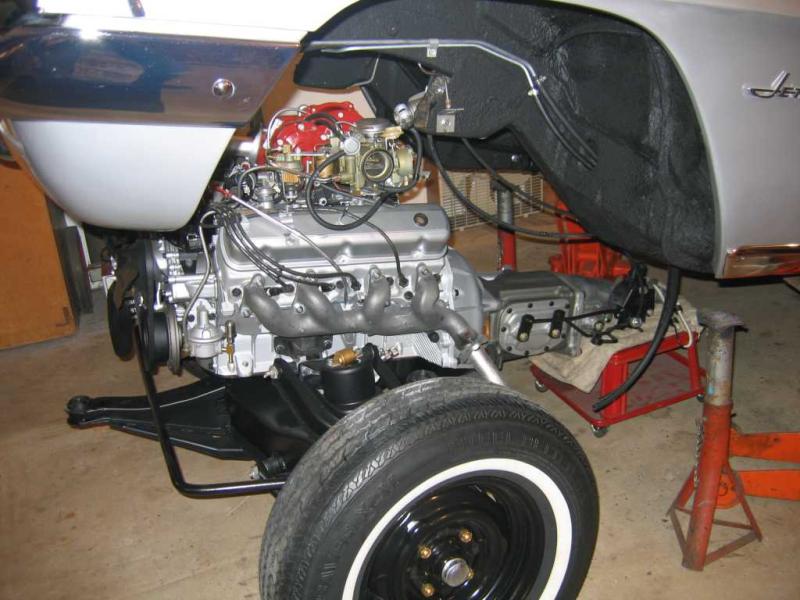
i would like to hold off on doing this but i just don’t think i should. the transmission is just not right. i can drive it but don’t want to risk making things worse. i am also going to send Jim Noel the turbo/carb system to get rebuilt. the engine runs great but seeps oil here and there and i don’t want to put a new turbo setup on a 50 year old engine so i will rebuild it also. i would like to have this done by spring but it is a matter of if i can sell my old race quad. if it don’t sell i may not have this done till fall. i plan to mostly just freshen up the engine bay but don’t plan to go to far with that. mostly just clean what is there and not repaint much other than what is attached to the engine. next winter i plan to pull the engine cradle back out and put the body on a rotisserie. from what it looks like the engine/front suspension drops out the bottom really easy. i will find out tomorrow.
i started with draining the fluids tonight.
Attachments:
You must be logged in to access attached files.
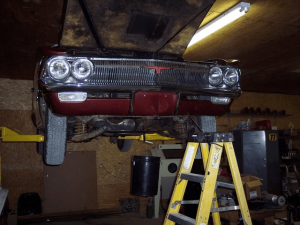
February 11, 2012 at 11:12 am #7305 JimNoelParticipant
Hi,
Yes, I think that is the easiest way to remove the engine. Here a some pic’s of the process.
Jim


Attachments:
You must be logged in to access attached files.
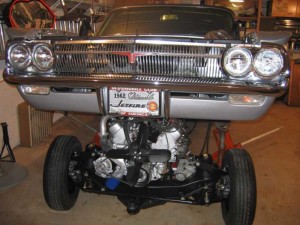
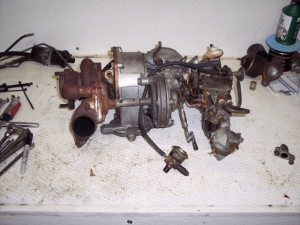
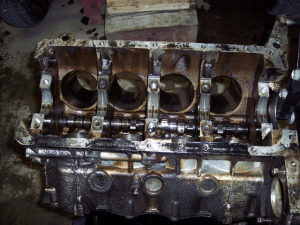
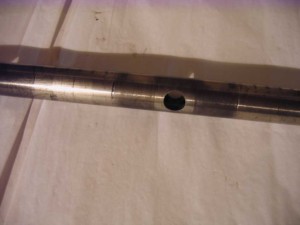
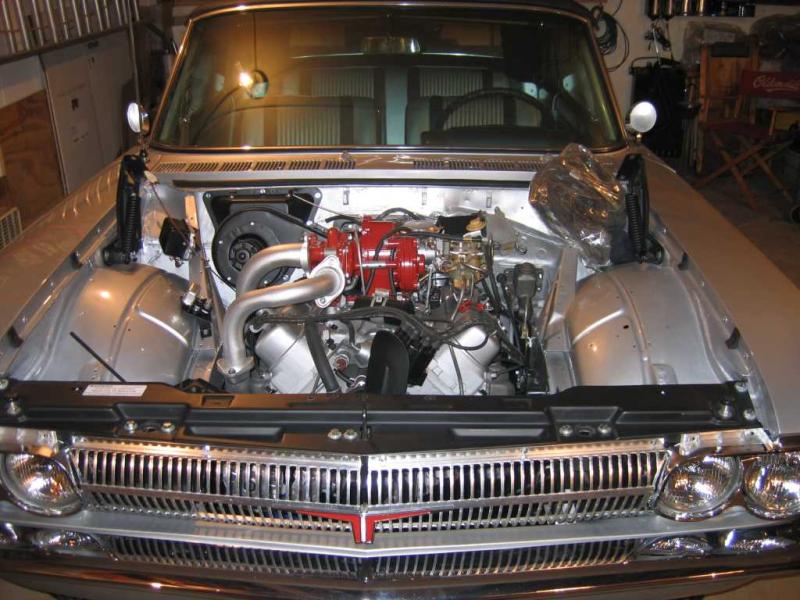
February 12, 2012 at 7:01 am #7307jensenracing77Participantthings went much better than i thought they would today. the bolts came apart like they were just put in last week. i had one exhaust bolt that i had to take some time on but got it out without braking it. other than that i only had a brake line hold me up. the driver side brake line would not brake loose from the hose. i found where it was just a little thin at the nut so i decided to cut it. i will get a new one, it is only about 10 inches long. after seeing the 50 year old gaskets, it is no wonder it was leaking oil. the cylinder has minimal wear and so far all the parts look great. time to start cleaning parts, yuck. that is the worst part of doing this stuff.

Attachments:
You must be logged in to access attached files.
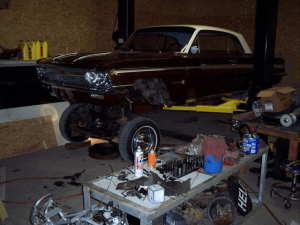
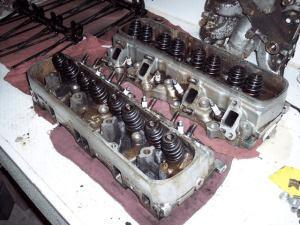
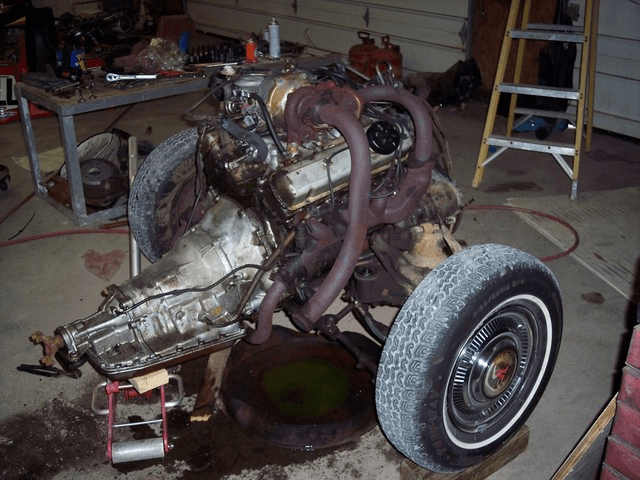
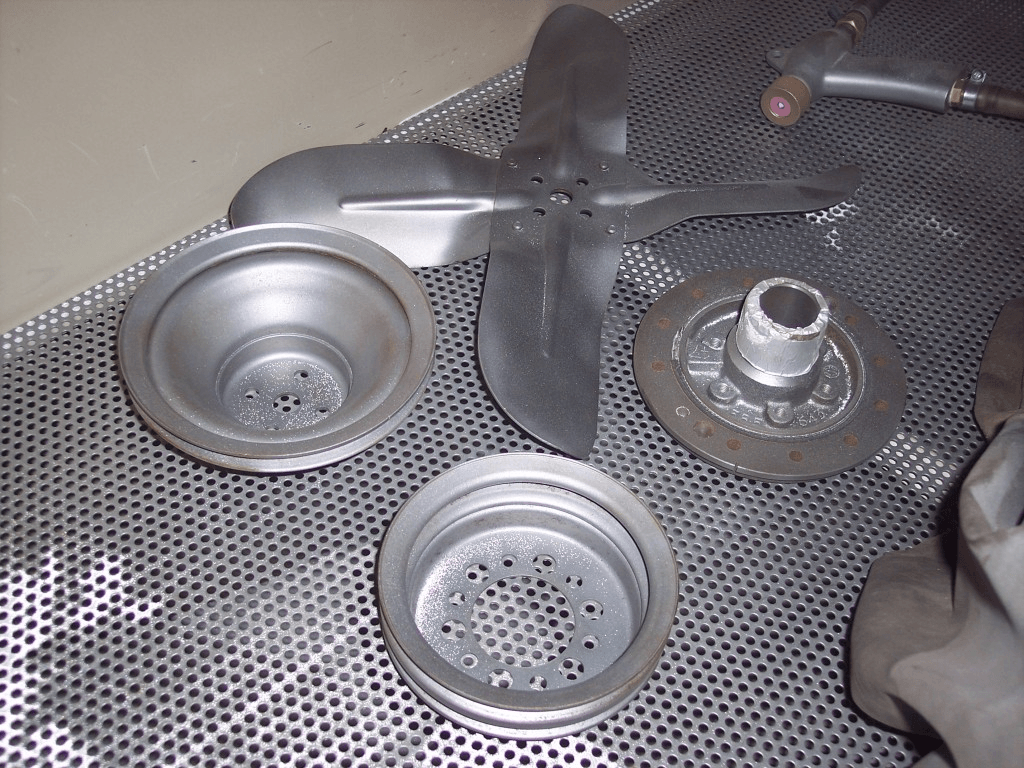
February 13, 2012 at 4:53 am #7308jensenracing77Participantnot much done today. finished pulling the engine apart and started to clean the heads.
Attachments:
You must be logged in to access attached files.
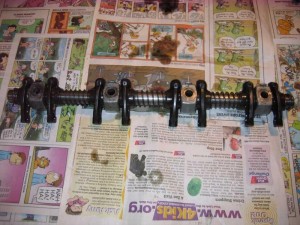
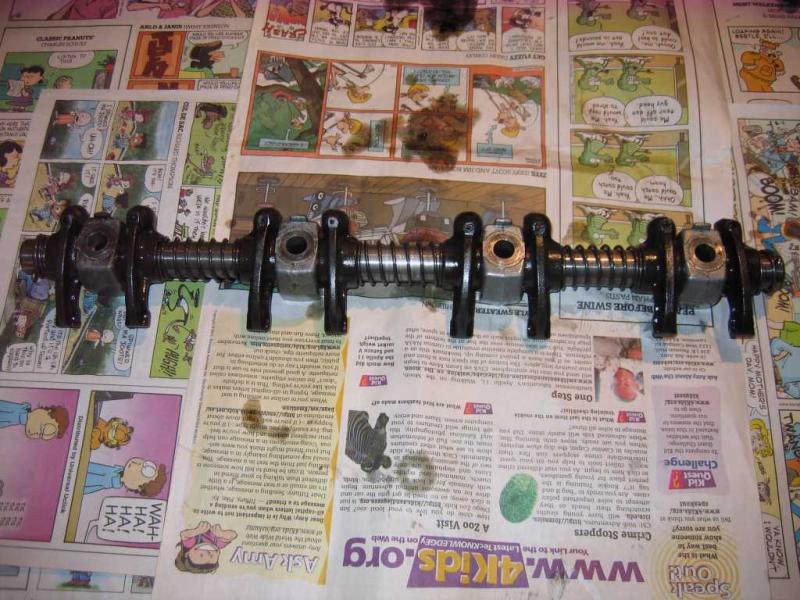
February 13, 2012 at 6:58 am #7309JimNoelParticipantMight be a good time to check your rocker arm shafts. More often than not they are bent!! The head through bolts tend to make the aluminum brackets slightly out of round, tough to slide off the shaft. Squeeze them ‘slightly’ in a vise 90 degrees from the bolt hole for easy removal. Roll your bare shaft on a flat surface to check if it is straight. Most are NOT! May also be scored from uneven rocker wear. Just a thought…………
Attachments:
You must be logged in to access attached files.
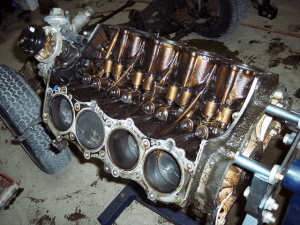
February 13, 2012 at 7:19 am #7310jensenracing77Participanti will be going through them also. i took the bolts out in steps to help keep from bending them but i will see what i find. i had a 62 dynamic 88 and they were pretty bad in the 394.
i did find out that the #2 cylinder is bad. looks like there was rust in it at some point in time. the car wasn’t smoking but i don’t see any way around having it bored. that stinks. what do you recommend for pistons and what do they run?
February 13, 2012 at 8:57 pm #7312JimNoelParticipantI can’t give you a good answer regarding piston replacement. I have only replaced pistons with standard size used engine take-outs purchased from D&D. Have not had to bore any cylinders thus far. D&D are the 215 experts. If it were me, I would check with them 1st.
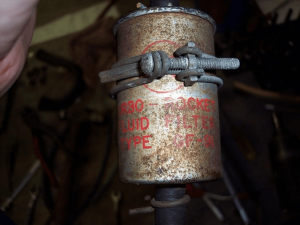
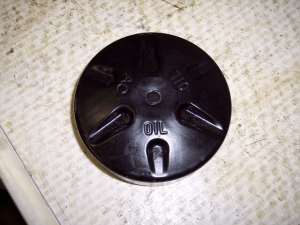
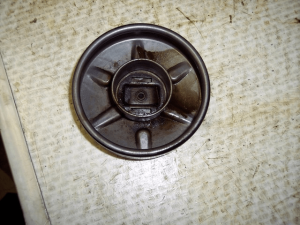
February 16, 2012 at 6:21 am #7313jensenracing77Participantcleaned some parts tonight but i need to get new glass for the cabinet. the glass i have is almost dust. wondering about the cap? the metal tab in the middle is broke and parts missing. anyone have a cap or know where i could get a rivet that looks like the original. i think i am going to drill it out and try to rivet one in from another style cap i have.

Attachments:
You must be logged in to access attached files.
February 18, 2012 at 10:45 am #7314jensenracing77Participanti was wondering what paint and color you used on the valve covers and exhaust manifolds?
February 19, 2012 at 7:26 am #7315jensenracing77Participantcleaning parts and painting. the painting is ok but the cleaning is no fun at all. my wife thought the help sign was in the perfect place. if i kick the bucket before this is together she will be be needing all kinds of help, lol.
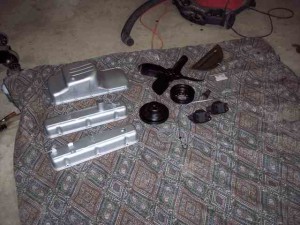
i found some aluminum high heat paint and tried it. it looks ok to me.
Attachments:
You must be logged in to access attached files.
-
AuthorPosts


- You must be logged in to reply to this topic.


