Home Page › Forums › Discussion Topics – Ask the Experts › 63 Jetfire Cowl Repair
- This topic has 0 replies, 1 voice, and was last updated 10 years, 5 months ago by
 BruceM.
-
AuthorPosts
-
March 15, 2010 at 1:44 am #7066
 perkinsraParticipant
Nov 22 2009, 11:29 PM
Dr.Jet63
Jetfire Cowl RepairMy father and I have just recently rescued his 63 Jetfire from 25 years of capture. When we pulled it out of the garage we found a large whole in the garage’s roof, and had 15-20 years of rain, snow, and weather falling on the hood and windshield area. In the two lower corners of the windshield the metal is bubbling and really rusted. How do you repair? Any help would be greatly appreciated!!! Little K
—————————————————————
Nov 28 2009, 3:8 PM
ajbarrell
cowl repairThere are lots of websites that discuss sheetmetal repair. One I follow semi-regularly is http://www.trifive.com/forums/ . They have active discussions on repair, paint, tools, etc. The moderators post a lot of messages suggesting techniques and showing pictures. Check it out…
Tony—————————————————————
Jan 5 2010, 10:7 PM
BruceM
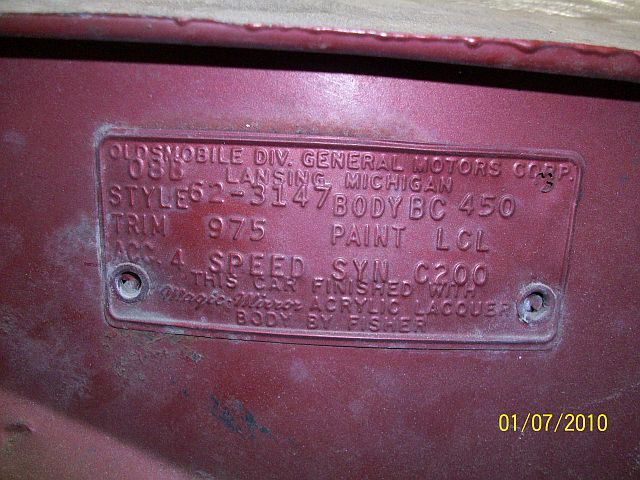
Re: 63 Jetfire Cowl RepairI’ve got this problem with a ’62 Jetfire 4 spd. that I am currently working on. As you probably know, there were two types of windshield installation methods for the ’62 and ’63 F-85. One type is the glue in windshield that had screwed in molding clips around the windshield channel. The other type used a rubber windshield gasket and the windshield was held in the gasket. The moldings clipped inside the gasket and the gasket fit inside the windshield opening. I’ve seen a number of cars with both methods used and I’ve never seen a car that didn’t have rust problems in the window channel with the glue-in method. My Jetfire has pretty serious rust-out in the channel and underneath on the cowl in the area between the dash and the cowl. My body guy that’s doing the work on the car is just going to cut out the rust and weld in new metal as best he can so I can get a good seal on the new windshield. I don’t think there is any other way to do it. Hope this is helpful. Best wishes on your project.
Bruce—————————————————————
Jan 24 2010, 4:51 PM
BruceM
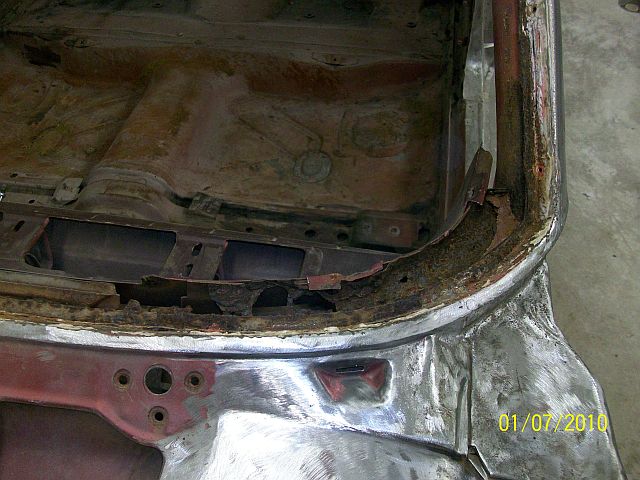
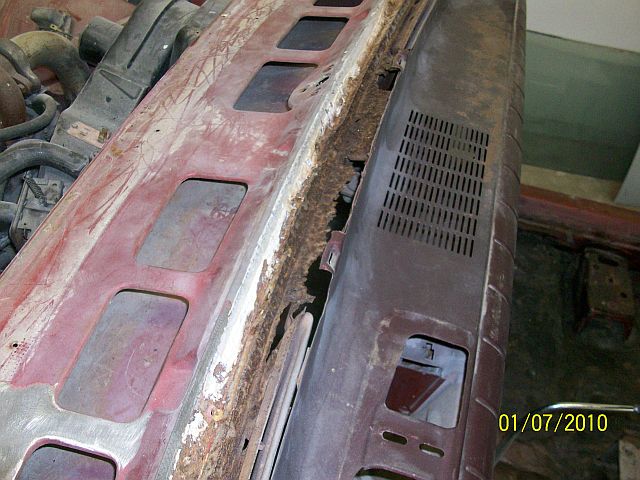
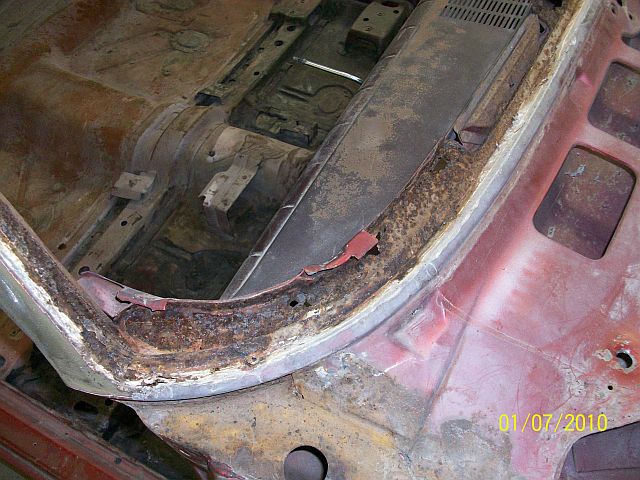
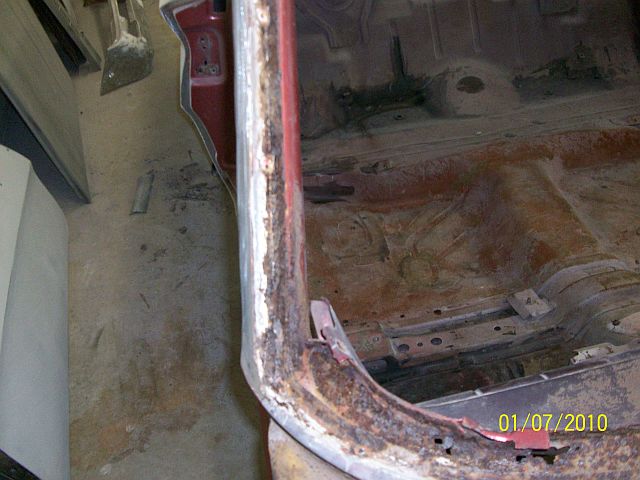
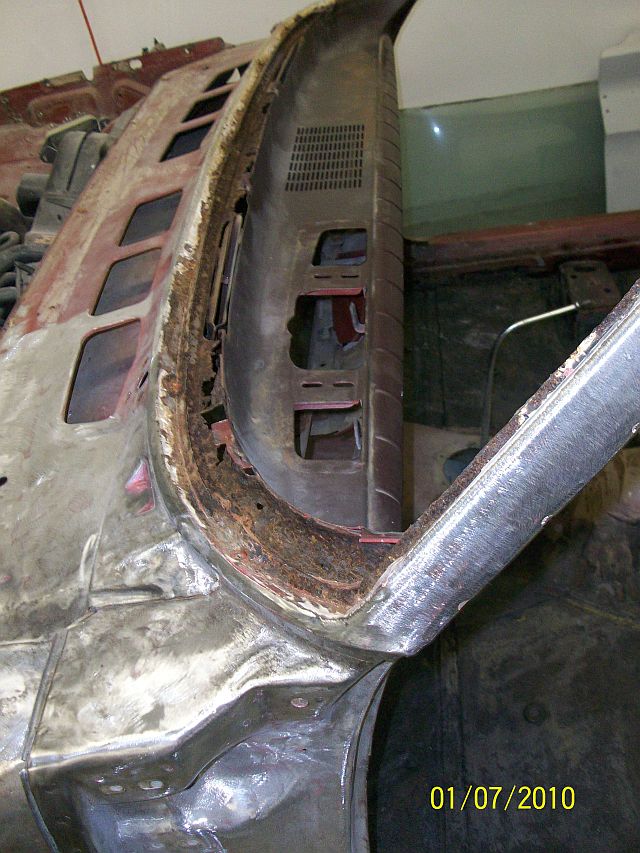
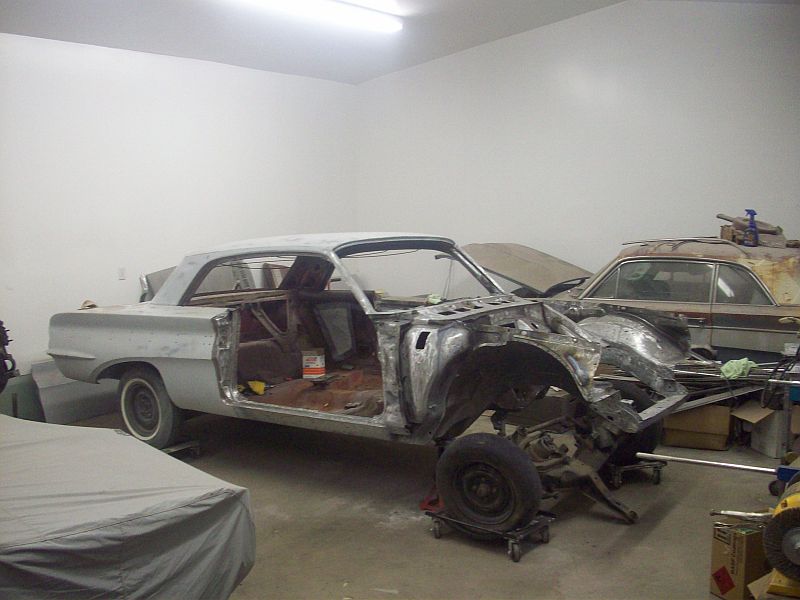
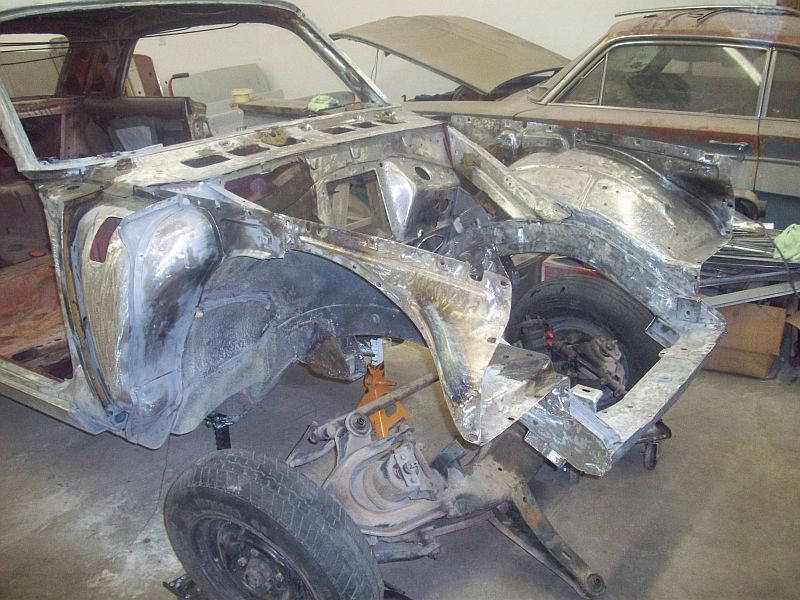
Re: 63 Jetfire Cowl RepairThought I’d post some pictures of the rust damage I’m facing in my current ’62 Jetfire project. It’s pretty bad in some places. I have a parts car that is rust free in this area so my body guy will need to cut and splice areas of this car into the project car. I got this car out of Arizona so the rust is a bit surprising. I’ve also encountered pretty serious damage in the rocker panels, but that has been due to them being full of sand and the water not being able to drain properly. I’ll post pictures when it’s repaired so you can see a before and after.
 May 5, 2010 at 6:10 pm #7090
 jetfireguyModerator
OK, now I’m am really going to show my ignorance about body repair. What is the problem with using metal backbones for strength and filling the mold with fiberglass netting and resin? I’m not talking about body putty. Help this rookie understand.
October 31, 2010 at 5:28 pm #7122 BruceMParticipant
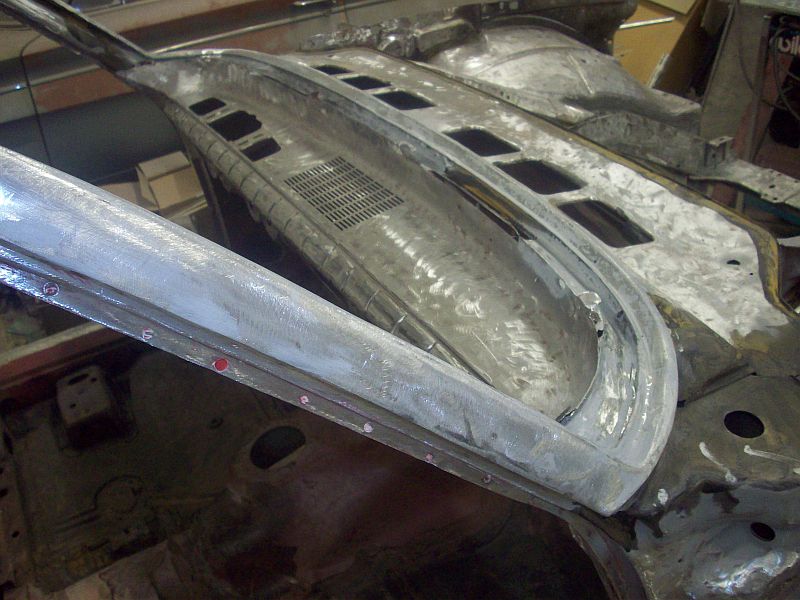
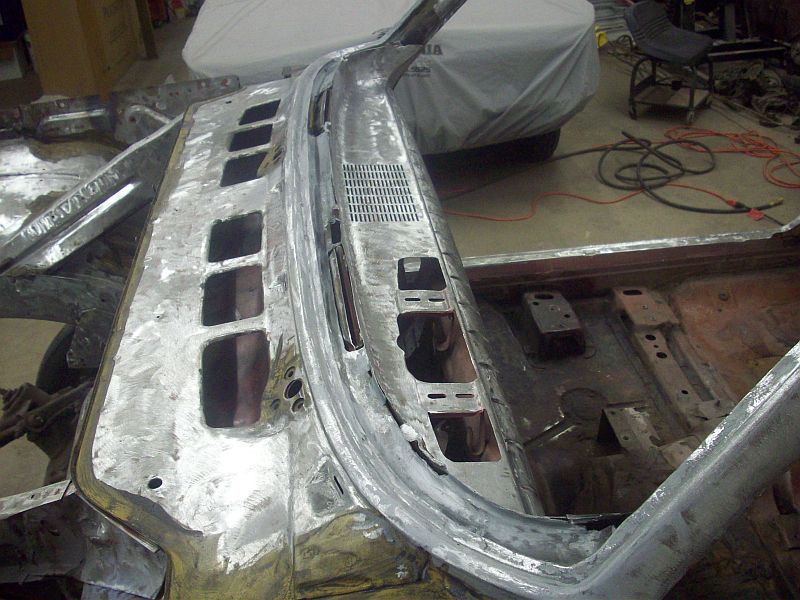
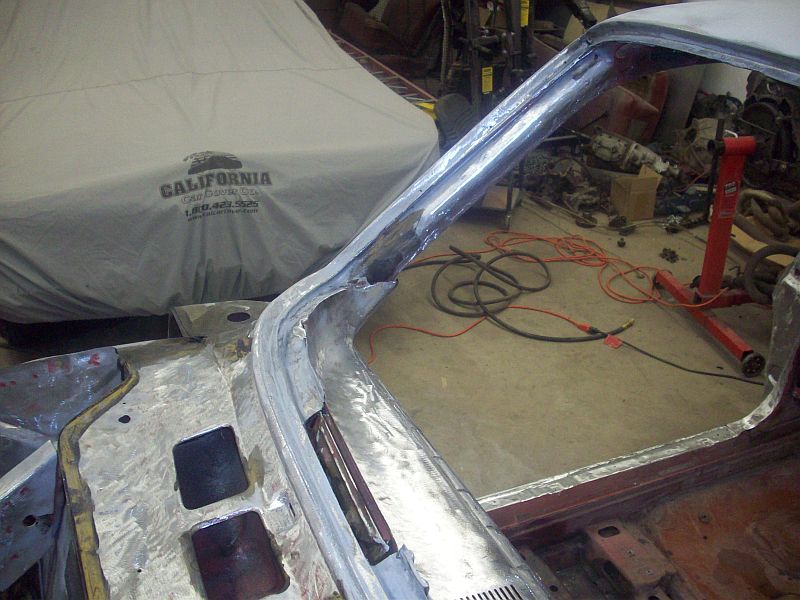
Several months ago I posted “before” pictures of the windshield channel rust damage I was facing in my current ’62 Jetfire project. I thought I would go ahead and post the “after” pictures. For some reason the system won’t allow me to post the “after” photos here, so if you’d like to see them, please e-mail me and I’ll send them to you. I’ve seen some questions and comments here on similar issues so I thought I’d describe the repair process. I have a body man who is pretty skilled and he did the work. Initially we thought we would cut and splice pieces from a parts car I have, but the parts car has a good dash and it would have damaged the dash and I didn’t want to do that. So, we obtained a piece of sheet steel in the correct gauge (I don’t know the gauge but I can find out if anyone needs to know). Then my body man proceed to cut out the rusty areas, then cut and welded in pieces of the sheet steel to fit the cut out areas. This required a fair amount of shaping of the steel and grinding of the welds. Once the repair pieces were welded in, All Metal was used to fill in the imperfections and smoothed up. The window frame moldings were secured in place to make sure they fit with the repaired areas. Also, a new windshield was obtained and put in place to make sure that it also fit properly. One thing I learned in obtaining the new windshield is that the windshield for cars with a glue-in style windshield is slightly larger (top-to-bottom) than the windshield that is installed using a gasket. It has a different part number. I didn’t know that before this project and maybe most of you know that already. I obtained the new windshield from Pilkington Classics. It even has the correct LOF logo. Anyway, anyone with more questions can feel free to e-mail me and we can arrange a phone call if that would help.
Here are the ‘after’ pictures you were trying to load.
Administrator
-
AuthorPosts
- You must be logged in to reply to this topic.


